Official SlimeVR manual.
VirtusVR trackers run the SlimeVR ecosystem — they use the SlimeVR Server and SlimeVR firmware. This guide follows the official SlimeVR step-by-step, from the server to calibration.
Install Steam, SteamVR and the SlimeVR Server
The SlimeVR Server is the heart of the system. Have Steam and SteamVR installed (for SteamVR games) and download the SlimeVR Server installer from the Download area. The installer already includes the USB drivers and the SteamVR driver.
Keep SteamVR closed during installation.
Open the setup wizard and enter your Wi-Fi
On first use, the SlimeVR Server opens the setup wizard. Enter your network name (SSID) and your Wi-Fi password — the trackers use 2.4 GHz only. Connect each tracker via USB-C to receive the credentials; after that it communicates over the network.
Connect the trackers and update the firmware
As each tracker connects to Wi-Fi, it shows up in the wizard. If SlimeVR offers a firmware update, apply it (OTA flashing is done over the network). Wait for all trackers to appear as connected before continuing.
Wear the trackers in the correct positions
Strap each tracker following the SlimeVR full-body set: waist/hip, both thighs and both ankles (chest and feet are extensions). Keep the LED facing the same direction on all of them, as the app indicates, and nice and tight, no slack.
Assign each tracker to a body part
In the wizard's assignment step, shake a tracker — it lights up and is highlighted in the app — and select the matching body part. Repeat for all of them, following the order suggested by SlimeVR.
Mounting calibration
Mounting calibration tells SlimeVR the orientation in which each tracker was strapped. Choose the Automatic method (perform the pose sequence shown on screen) or Manual (select the directions). Do it in the ski pose — slightly leaning forward, knees bent.
Full reset and body proportions
Stand in the reference pose (body straight, looking forward) and do the Full reset. Then calibrate your Body proportions: use Automatic proportions (AutoBone) and move / walk as the app instructs for about a minute. Good proportions are essential for good tracking.
Enter SteamVR and calibrate in-game
With the SlimeVR Server open and connected, the trackers appear in SteamVR as devices. Open your game and do the in-game full-body calibration (in VRChat, line up the controllers in the I/T pose). Set up a quick Reset bind to readjust during the session.
Fix it yourself in minutes.
Filter by category or use the search at the top of the page. Didn't find it? Support replies fast.
- The network must be 2.4 GHz — temporarily disable 5 GHz or create a dedicated 2.4 GHz network.
- Resend the credentials through the SlimeVR Server Wi-Fi wizard (with the tracker powered on nearby).
- A password without unusual special characters helps the first connection.
- Bring the tracker close to the router for the first pairing.
- Weak signal: bring the PC/router closer to the play area.
- Many devices on the same 2.4 GHz band cause congestion — change the Wi-Fi channel on your router (1, 6 or 11).
- Avoid repeaters; prefer the main router.
- Confirm the PC and the trackers are on the same network.
- Put it on charge for at least 15–20 minutes — deeply drained batteries take a while to respond.
- Try another cable and another USB-C port (some ports only transfer data with little power).
- Check the LED while charging. With no light at all, change the cable before concluding it's defective.
- If it persists, claim the warranty.
- Turn the trackers off when not in use (just taking them off your body isn't enough).
- A weak Wi-Fi signal increases consumption — improve your network coverage.
- Keep the firmware updated: power improvements ship in new versions.
- Do a Full reset standing and a Mounting reset slightly leaning forward.
- Leave the trackers still for 5s when turning on to calibrate the gyroscope.
- Strap them nice and tight — a wobbling sensor creates drift.
- Set up a controller bind to reset during play.
- Check the body assignment: each tracker on the right part (left vs right thigh, etc.).
- Redo the proportions/height inside the game (in VRChat, the T/I calibration).
- Verify the LED orientation as indicated during mounting.
- An inverted knee is usually a Mounting reset done in the wrong posture — redo it leaning forward.
- The SlimeVR Server must be open and with the trackers connected (green) before opening SteamVR.
- Reinstall the drivers via the "SteamVR" button inside the SlimeVR settings.
- In SteamVR, under Manage Drivers, confirm the SlimeVR driver is enabled.
- Restart SteamVR after connecting everything.
- Open and put on the headset (it must be actively tracking) before starting calibration.
- Confirm SteamVR recognizes the headset and controllers normally.
- In SlimeVR, enable the SteamVR feed in the connection settings.
- Install the CP210x or CH340 driver (see the drivers tab in the Firmware area).
- Use a data USB-C cable (some cables only charge).
- Use the Chrome or Edge browser for the web flasher (Web Serial).
- Close the SlimeVR Server and other programs using the serial port.
- Change the cable and USB port; prefer a rear PC port (straight to the motherboard).
- Don't move the cable during flashing.
- Select the correct sensor (LSM6DSR / LSM6DSV) for your model.
- If it hangs, restart the tracker and try again from the start.
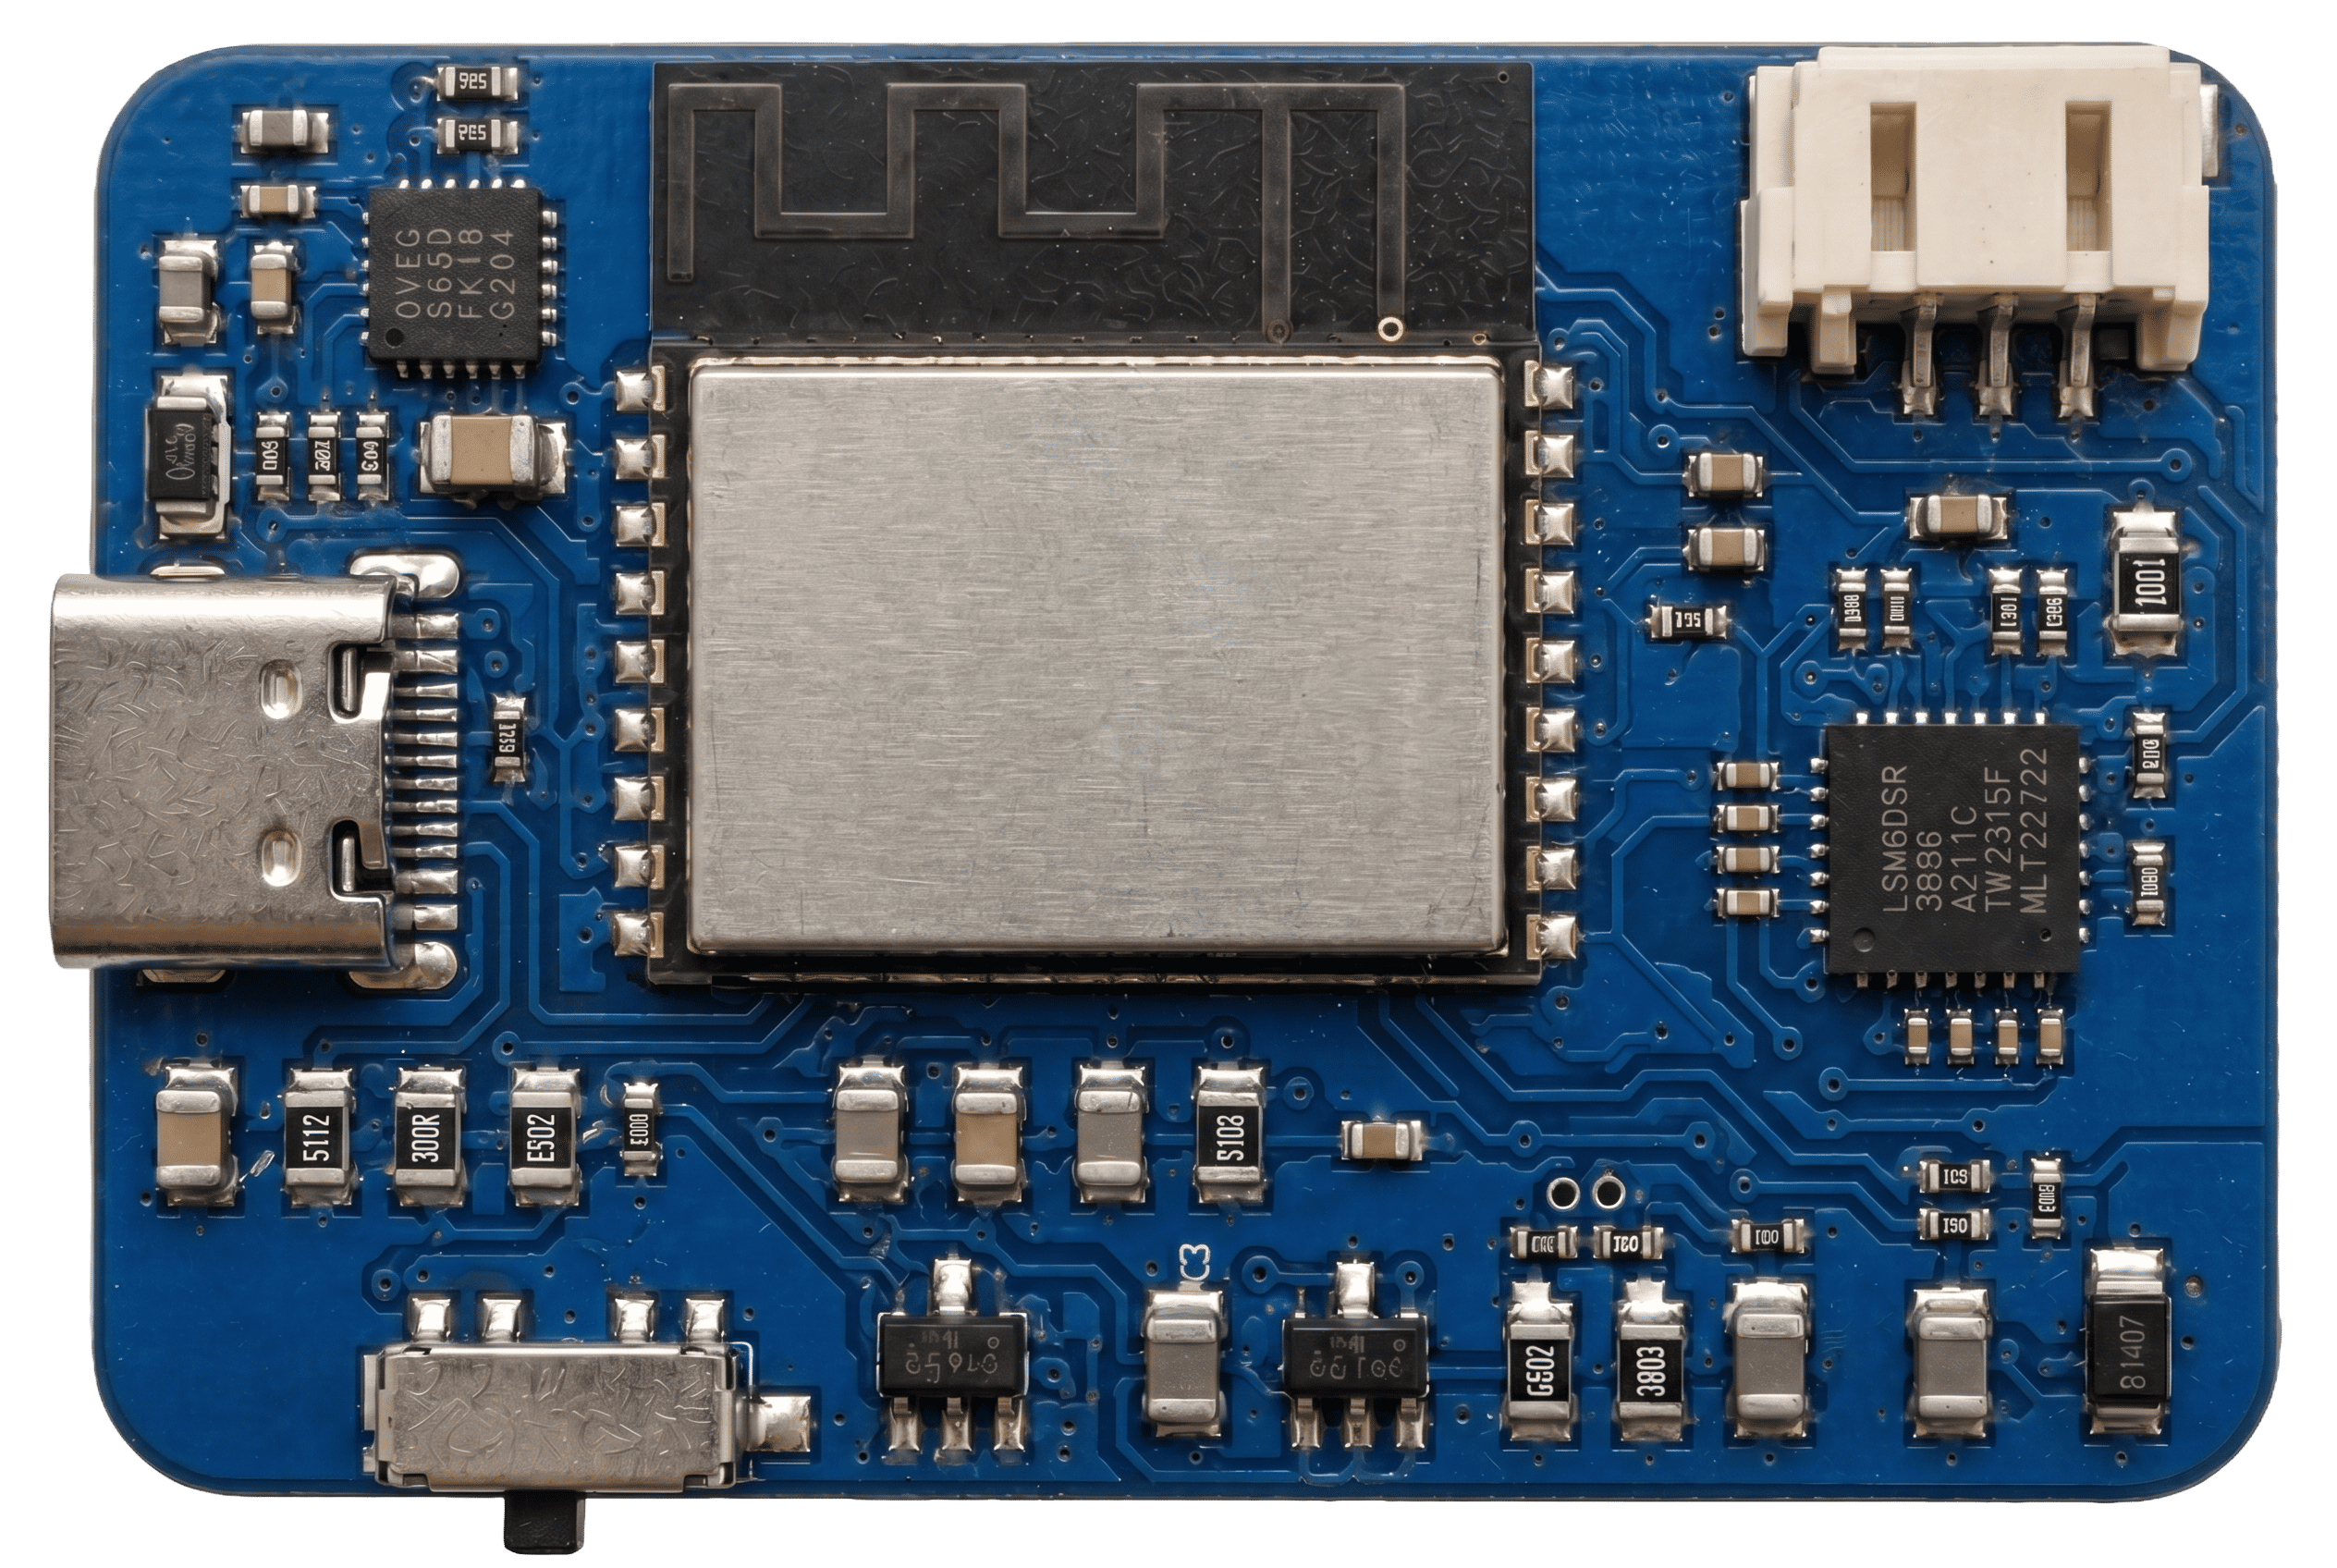
Firmware always up to date.
Keep the trackers on the latest version for more stability, better battery life and fixes. Flashing is done in the browser, with nothing to install.
Choose the firmware by sensor
| File | Sensor | Version | Size | Download |
|---|---|---|---|---|
| virtus-fw-lsm6dsr.bin | LSM6DSR | 0.5.2 | 1.1 MB | Flash |
| virtus-fw-lsm6dsr-0.5.1.bin | LSM6DSR | 0.5.1 | 1.1 MB | Previous |
| File | Sensor | Version | Size | Download |
|---|---|---|---|---|
| virtus-fw-lsm6dsv.bin | LSM6DSV | 0.5.2 | 1.1 MB | Flash |
| virtus-fw-lsm6dsv-0.5.1.bin | LSM6DSV | 0.5.1 | 1.1 MB | Previous |
| File | Sensor | Version | Size | Download |
|---|---|---|---|---|
| virtus-fw-icm45686.bin | ICM-45686 | 0.5.2 | 1.2 MB | Flash |
How to flash — step by step
Install the USB driver
CP210x or CH340 depending on the board chip. See the drivers tab below.
Connect via USB-C
Use a data cable and the Chrome or Edge browser. Close the SlimeVR Server.
Select the port
Click "Flash", choose the tracker's COM port and confirm the correct sensor.
Wait and reconnect
Don't move the cable. When it finishes, the tracker reboots — set up Wi-Fi again if asked.
USB-Serial drivers
| System | Driver | Note | Download |
|---|---|---|---|
| Windows 10/11 | CP210x VCP | Restart after installing | Download |
| macOS | CP210x VCP | Authorize in Privacy | Download |
| Linux | Native (kernel) | Already included in most distros | — |
| System | Driver | Note | Download |
|---|---|---|---|
| Windows 10/11 | CH340 SER | Restart after installing | Download |
| macOS | CH34x VCP | Authorize in Privacy | Download |
| Linux | Native (kernel) | Already included in most distros | — |
Release notes
v0.5.2 — 06/03/2026
+ Better Wi-Fi connection stability in congested environments
+ Lower standby consumption (~15% more runtime)
+ Fixed residual drift after Mounting reset
+ Improved support for the LSM6DSV sensor

v0.5.1 — 05/12/2026
+ ICM-45686 support
+ Automatic reconnection fixes
+ Initial gyroscope calibration tweaks
Download the SlimeVR Server.
The app that connects your trackers to the PC and to SteamVR. Choose the installer for your system — the Windows one already includes the SteamVR drivers.
Windows
Full installer with the SteamVR drivers included.
macOS
For Intel and Apple Silicon. SteamVR on macOS is limited.
Linux
AppImage, Flatpak and .deb. Set up the udev rules.
Talk to us — we reply fast.
Have your order number and kit model on hand to speed things up.